Sunday, May 16, 2010

The post about the TWILIGHT bandwagon


Well even though I am only admitting it now, I jumped right on the Twilight phenomenon bandwagon a while ago. When I saw the first movie I didn't think it was that great, but then I read the books and like billions of others out there I was hooked. But I can't quite get a grip on calling myself a Twi-mom anytime soon (Shhh I know that's exactly what I am). I even made my husband take me to the midnight showing of New Moon. Poor guy was probably one of the 4 guys there -in a theater of 400 girls, women, and teens. LUCKY for me he enjoyed it and adores me enough to take me to the Eclipse showing as well. Now THAT is what I call love people!

Since I am now a devote follower of the vampire cult I might as well join the Twilight Crafting Cult.
Here are some of the Twilight Inspired crafts I've been working on lately. You can find some of them in my Etsy Shop...

The "Cullen-ize Me" digital artwork


The liquid topaz eyes, extreme beauty, alabaster skin, purple-ish bruises from hunger, alluring lips and hair.. YOU too can look like a Cullen! If you want to be Cullen-ized or even Volturi-ized, you can find it all here.

Eclipse Inspired Journals


the one on the right has an MD<3 in the upper corner because I made it for my cousin and those are her initials.

Blood Suckers  (get it? ha lame-o)


This was my first try making candy and I'll probably never try again. They look good and they tasted good (thanks to the raspberry extract), but I had some serious operator error getting them to the right temp and properly using the candy thermometer so they NEVER fully hardened and were sticky when I tried to package them. After 2 more trips to the grocery store for extracts and 1 more trip to Michael's for more sticks AND a THIRD attempt at making a batch, I gave up... You win this one homemade sucker demons!

I also did yellow ones which were either mint or vanilla flavored I can't remember, but they were supposed to resemble the Cullen's eyes.

Imprinted/ Imprintable Shirts

Inspired by the wolf pack's ability to Imprint on their true love, the options are "imprinted" for someone in a relationship and "imprintable" for the single ladies.

I did an "imprintable" shirt for a friends daughter and it was a little big so I gathered the sleeves and the neckline and tied the sides for a more glam look


I also did an "Imprinted" one for me to wear to the midnight showing, but then while I was in my 1am crafting- sleep deprived state I went overboard and turned it into a dress/tunic thing with some gathered satin fabric and the next morning when I awoke to my drunken-stupor creation I couldn't muster up the balls to wear it out in public.


An extra girls shirt (imprintable) and a regular black t-shirt (imprinted) are available.

That's all for now...  until we go see Eclipse (YES I am super excited, that one was my favorite book of the series) and I get some more crazy crafting into my head

Wednesday, April 28, 2010

The post about the Boys Birthday Shirts

Here are the shirts I made for the 3 year old's birthday party I mentioned in the past post.
front1:

back1:

front 2:


back2:
I got the shirts for $3 each at walmart (I LOVE that Granimals brand for inexpensive plain clothes to embelish) and used a bleach pen for the road and wind/cloud marks and then did freezer paper stenciling for the names, car, helicopter, and #3 on the back. I've been doing freezer paper stenciling for a while and I've used bleach on clothes before but mostly in splatters to distress clothes and jeans, but then I realized you could use a bleach pen for more detailed work thanks to I Am Momma Hear Me Roar. Its a genious idea that is SO simple, but I would have never thought of it on my own. She has a video tutorial on the bleach pen if you are interested... which of course you are!

I really like the way these turned out (must be the bright colors) and Carter's mom thought I bought them somewhere so YAY for me, i'll have to make my boys some... not that they need MORE clothes, but with a third on the way I can dress them in matching outfits :) You either love it or you hate it, but I'm a lover of matching outfits. We are gonna be that nerdy family at the zoo who are ALL matching, even the parents HAHA I LOVE IT!


Tuesday, April 27, 2010

The post about DIY Wrapping Paper


We recently went to a joint birthday party for my friend's son and one of his other friends. It was Chase's first actual birthday party that he was able to really participate in (the whole cupcake, pinata, playing with kids thing)  so it was a lot of  fun for the kids. It was also in a REALLY nice park/party spot that I never knew about until now. If you live in/near Racine, WI and you have little kids and nowhere to go, you should try Smolenski Park. If we do a big birthday party for the boys this year thats where I am going to have it.

ANYWAY I made t-shirts and got a little truck toy for each of the kids (both boys were turning three) and I literally had NO extra money for wrapping paper at the time so I quick whipped up some of my own and GUESS WHAT?!.... The two boys were FIGHTING over my wrapped gifts! Cody opened his and then wanted to open the one I wrapped for Carter and they started screaming/fighting over it. Now LOGICALLY I'm sure it was just because Cody thought they were both for him and didn't want Carter to take it from him, but in my own little twisted self-promoting mind I am telling myself it was my bright and awesome looking paper and ribbon that did them in. They just couldn't resist.

This isn't very hard to figure out, but just incase you are in a bind for last minute present wrapping and you don't have any paper or you are poor like me or you wanna join the rest of the world and "go green", here is what you can do...

All you really need is...
*a paper bag (or other larger paper, packing paper, construction paper, even the back of wrapping paper you already have like x-mas paper or something)
*markers, pens, paint , stickers(anything to decorate with)
*curling ribbon (optional)
*scissors
*tape (duh)

1. I used a paper grocery bag for one and some grey paper I kept that came as wrapping/stuffing from some pictures I ordered off shutterfly for the lighter one. If you use a paper bag you just have to cut  down one side and cut off the bottom rectangle piece so you get a long flat piece of paper. This is the bottom piece that gets cut off and disgarded (or kept for some other crafty Green project).

2.  If you want it to look really nice you could iron the paper so it has less creases, but I didn't have all that sewing stuff out and was not about to plug in the iron and wait all for a little kids gift that is gonna get ripped up anyway. If it was for an adult or something fancy like a wedding I probably would. [note PROBABLY..  or not]

3. Next you have to decorate your paper... You could do anything here, paisley, swirls, flowers, cartoons,  write a joke, whatever. I used these fat sharpie markers


I just drew lines going in all different directions. It is a good idea to do a random pattern where things/ pictures/ lines don't  have to match up perfectly. You could use anything to decorate the paper like glitter, stickers, let your kids draw and scribble on it... its easy

4. THATS IT! Wrap up the gift and add whatever bows/cards you want. I used a lot of multiple colored curling ribbon just to give it some decoration besides just being a paper bag.
and tied on a quick scrapbooked card

I think it looks pretty good for being free and after I wrapped the first one the hubs walked in and asked where I found some paper at (because I was complaining earlier about not having any) so it fooled him :)

Monday, April 12, 2010

The post about my FIRST FEATURE... well sorta

I should do the laundry AND the dishes, but that's boring so instead I will post about how I am on someone else's blog for the first time!!! YAY! Its not like I was "discovered" and she wrote about me, but I entered a contest Alida had on her blog I Make Stuff and she showed my work in a post about the entries. Works for me!! So go here and check out the awesome entries she had.. then scroll down to the "Skinny jeans maternity re-fashion" with the green zebra print belly panel. Those beauties are mine ;)


Here are the jeans I patched up and re-fashioned

Close- up of the patches because plain jeans bore me, I think I'm going to have to go over them in a crazy random direction with white thread too so they stand out better
So now... to do my chores?or not to do my chores?

Saturday, April 10, 2010

The post about WHAT TO DO with an old baby glider cushion

Does anyone out there have an old beat up cushion or pillow they can't think of what to do with? All you need is a beat up cushion, some fabric, and some extra stuffing to repurpose it into a new, better looking pillow!

The glider that we had for the kids broke because my husband started using it to sit in when he played video games and he leaned back too far and it cracked, ( Thanks a lot) but we continued to use it until it was completely broke. I threw the cushions in the wash because it was a fairly cheap chair and the cushions did not have a case to take off and wash, you have to wash the whole thing and I'm currently storing the broken chair in the garage. I still need to think of something to do with the broken chair pieces, but I can't come up with anything good yet. Anyways the cushions came out all deformed and ruined so they couldnt be reused or recovered for a new glider. I didn't want to throw em out so into the random box of craft crap they went UNTIL I found this tutorial for a pillow cover and it just happened to be my aunt's birthday so my opportunity to make some throw pillows arrived.
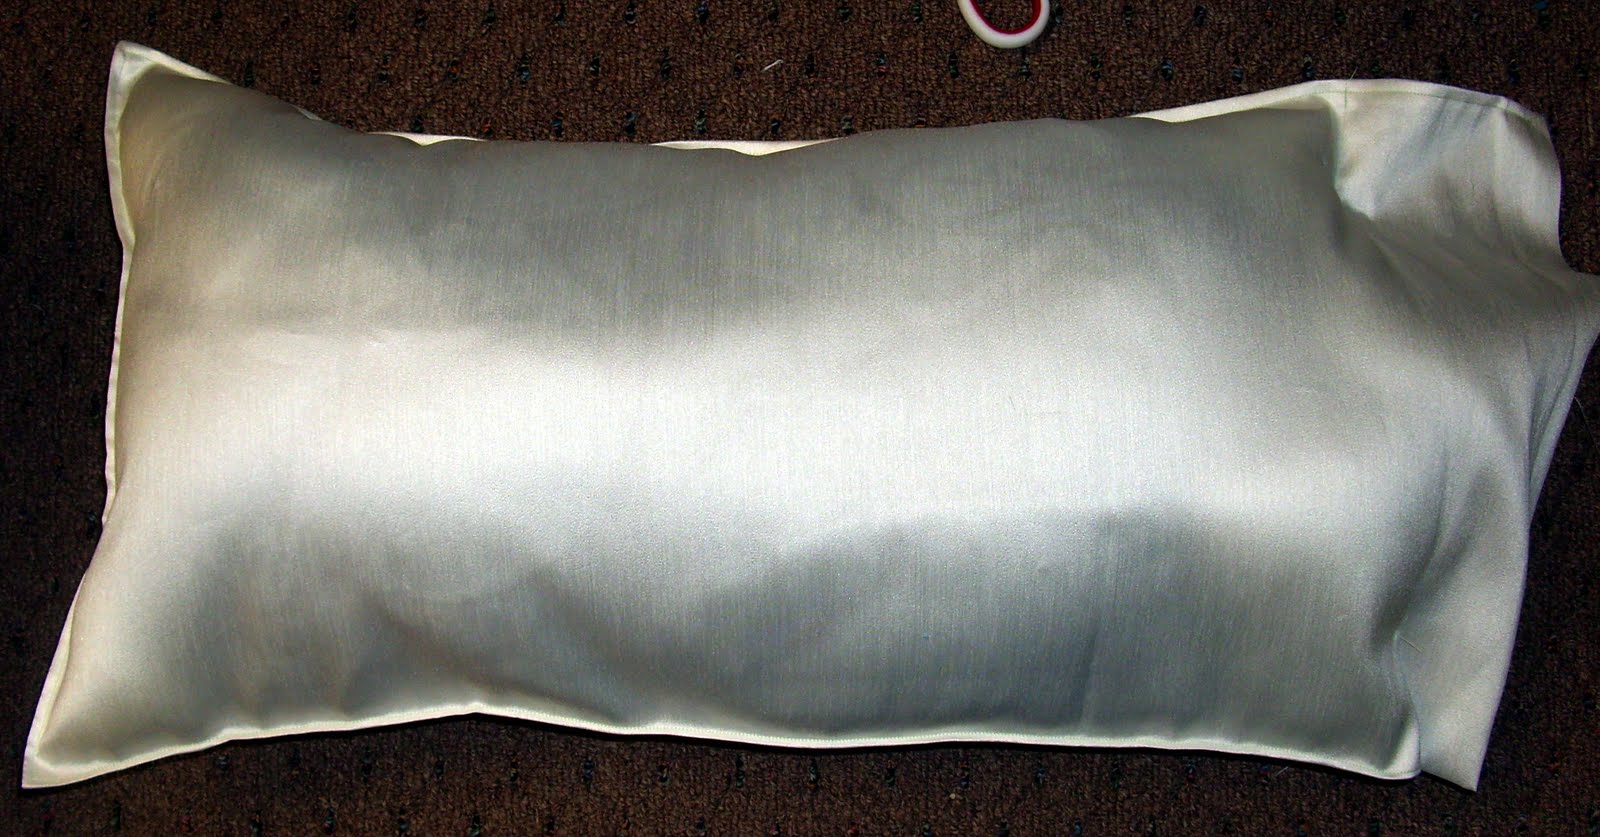
From this:

   To this:

Originally I was going to make a pillow shape and just stuff it, but I didn't have much stuffing on hand so I dug out the old glider cushion and crafted away.

Here is an idea for re-purposing an old cushion (you could use any cushion/pillow that is too ugly/ ruined to serve its old  purpose)
This can be done 2 ways- 1 way is to simply sew a pillow case type thing with the new fabric that you want to cover your pillow, turn it right side out, stuff the cushion and extra filling in and then press in the open edge (where you pushed in the cushion and filling) and handstitch or top stich that closed.  OR the 2nd way (what I did) was the same as above but you can use any old fabric since that pillow wont be seen and you are still going to cover it with another case, but just sewed my open edge closed without turning edges in and then made a seperate decorative pillow cover..

This isn't really a tutorial because I tried  to write one and it sounded crazy plus its pretty easy to figure out and you'll have to do diferent things depending on what size/ type old cushion you use so I will just tell you what I did...

1. First I found some fabric I had that was already folded over and sewn into a shape like a long pillow case so I stuffed in my cushion to see if it would fit and it fit pretty good except for the four corners. Then I took the cushion out of the pillow case and cut off all the extra strings that were on the cushion for attching to the rocker ( if you arent lucky enough to find some fabric that is already in a pillow case shape that fits your cushion you can quickly measure, cut, and sew a new case either out of pretty fabric which will cover and be your new pillow or out of whatever fabric you have on hand that you will still cover with a cute seperately made case OR you could also use an old regular pillow case you have lying around and just adjust the length/ size to better fit your old cushion)


2. I top stiched around the pillow case fabric just to make it extra secure since the fabric and stitching was a little old and keep all the stuffing in that I was going to add to the 4 corners. 


3.  Next I used 2 handfuls of Poly-fil  to stuff into the two far corners of the pillow case. Be generous with the stuffing. I wanted the corners to really be full so they would always keep their squared shape.

4. Then I put the old glider cushion into the case making sure my two corners staight tightly packed with Poly-fil.

5. Then stuff the final two outter corners with the Poly- fil


6. Next I pinned the open end closed and sewed. It was kind of tricky to sew a perfectly straight line since all the stuffing on the right side had to be pushed out of the way for the fabric to fit under my machine, but since I was still going to put a decorative removable case over this pillow I didn't care. If I did it again I would draw a straight line on the fabric ahead of time to use as a guide when sewing shut.
IF you are going to end here and use the pillow case you made as your final result you will have to fold in the open end and handstich or topstich closed to make it look nice.
This is me trying to push the cushion & stuffing out of the way so I can sew

As you can see I didnt sew a straight line

7. I cut the extra fabric from my pillow case off on the right side and voila! You have a new pillow

I still had a raw edge on the right side, but it didnt matter because this wasn't my "final" project, I made a super cute throw pillow cover using this simple ruffle stripe pillow tutorial from Prudent Baby

The only thing to note about the Prudent baby pillow tutorial is that if you are covering a pillow that is not square (like mine) then in the first step they say for the back pieces "you'll need two pieces the same length by half the width of your pillow plus 2.5inches". BUT if you follow those directions the opening for putting the cover on will go the long way across the back of your pillow like this..

and it is easier for the opening to seperate and the inner pillow will show SO if you are doing rectangular pillows just switch the directions around to say "you'll need two pieces the same WIDTH by half the LENGTH of your pillow plus 2.5inches". Which is what I did with some smaller blue ones I made and the back opening went across the short width way and keeps the pillow enclosed better.

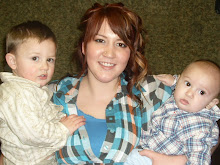
I made two more little pillows in blue to go with the larger maroon one ( I just filled those two with all Poly-fil because I didnt have any small old cushions to stuff with)

I also made the framed "artwork" to go on my aunt's wall above the couch that will have the pillows on it just to tie the colors and the room together. Her last name is DeHart so I did the monogrammed "D" with a little heart.


A tutorial for this fabric artwork will be coming soon

Saturday, April 3, 2010

The post about the re-launch attempt and the red-neck dress shirts

Dear Blog,

  Hello after a long 5-6 months :O !! I know you have missed me, but obviously I'm a little bad at keeping up with you. SO let's try again! My excuses for not blogging are 1) I have a crap camera so my pictures are crappy and 2) I don't do crafts/ interesting things everyday so I would have nothing to write about
BUT
Since I am the only one who reads this and it is only for me to keep track of the things I make I have collected some pictures of things I've been doing and I'm going to attempt to kick off the blog again. AND onto the camera situation...since I have discovered picnik (only the greatest and easiest photo editing softwear (does blogger have spellcheck?) and this is coming from an attempted photoshop user) my pictures are a little better. I also am saving/ planning to get a newer fancy "amatuer photographer" DLSR or DSLR (WHATEVER its called)  camera in May so I can't use pictures as an excuse anymore.
SO
without further ado.. here are the shirts I made for the boys to wear to my family's easter gathering
I call them the "red-neck dress shirts" because they aren't even easter colors, but I had a little bit of red bandana fabric that I wanted to use up and came across a red bandana tie applique that I had cut out months ago and never used


I got the idea from Cheri at the blog I am momma hear me roar , I sorta followed her "real men wear ruffles" tutorial for little Archer's onsie.

For Chase's larger T-shirt I just made a tie applique (which looked a little boring and plain on its own compared to Archie's) and added white tuxedo shirt ruffles.

TOO CUTE!
P.S. I recently discovered Cheri's blog , it's newer and I LOVE IT  because she has two little boys as well so her crafts are boy related which is GREAT because there are SOOOOOmany cute girl projects out there, but not enough BOY LOVE!

P.S.S. Here is my adorable, smiley, little man... with his 3 teeth